PuTTY Guide
Saving Sessions
You can create saved sessions in PuTTY to save a bit of typing when connecting to a remote server.
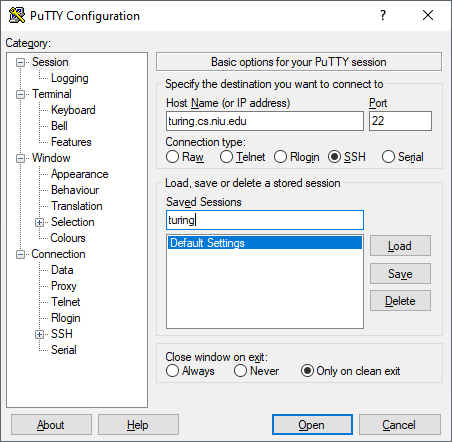
Type the host name that you want to connect to into the Host Name: text box and then type a nickname for that host in the Saved Sessions text box.

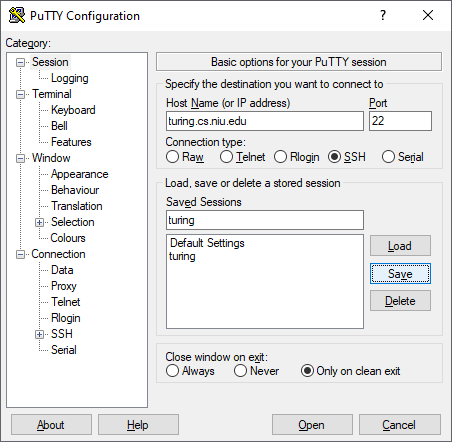
Click the Save button to save the session under that nickname.

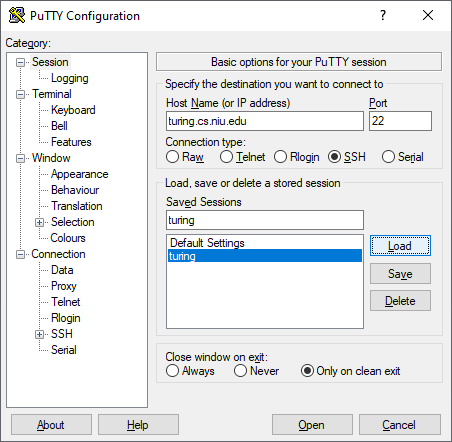
In the future, you can simply click on the nickname for your saved session and then click the Load button rather than typing out the name of that remote host.

Copying and Pasting Text
Note: Ctrl-C and Ctrl-V do not work in PuTTY.
Copying: Highlighting text with your mouse in the PuTTY window automatically copies that text to the clipboard, so you can paste in that window or any other application.
Pasting: After copying the text from another application or the PuTTY window (by highlighting), simply right-click on the terminal screen or type Shift+Insert. Note that you should position your cursor in Unix applications before pasting — the text does not paste to where you right-click on the screen, but to where the cursor is.
Changing Default Settings
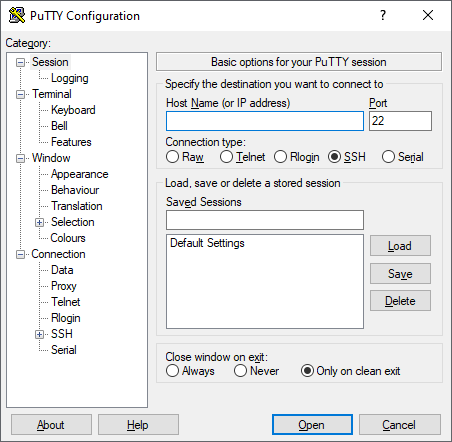
The PuTTY Configuration window allows you to customize your default PuTTY environment by choosing items from the menu list on the left and changing their values on the right.

Here is a list of common items to customize (and which section on the left they are found in):
- Printer: Go to the Terminal section to set your local printer for ANSI printing.
- Screen and Buffer Size: Go to the Window section to set how big your default screen, by changing the Rows and Columns. Change Lines of scrollback to change the window's buffer.
- Font: Go to the Appearance section, under Window, to set the default font.
- Colors: Go to the Appearance section, under Colours, to change the foreground and background colors by choosing each of the first six lines in the Select a colour to adjust option. After selecting each row, click the Modify button, choose your preferred color. Make sure the following pairs have sufficiently contrasting colors or you won't be able to see the characters:
- Default Foreground and Default Background
- Default Bold Foreground and Default Bold Background
- Cursor Text and Cursor Colour
To save these settings, click Session on the top of the left menu. Click the Default Settings option in the Saved Sessions area. Then click the Save button.


